Gravel Bike Maintenance: The Hidden Wear Your Mixed-Surface Rides Create
Mixed surfaces can change your bike’s cleaning and inspection needs within a single ride. Here’s what to check after dust, mud, and loaded trips.
Updated September 13, 2026
The Gravel Maintenance Problem
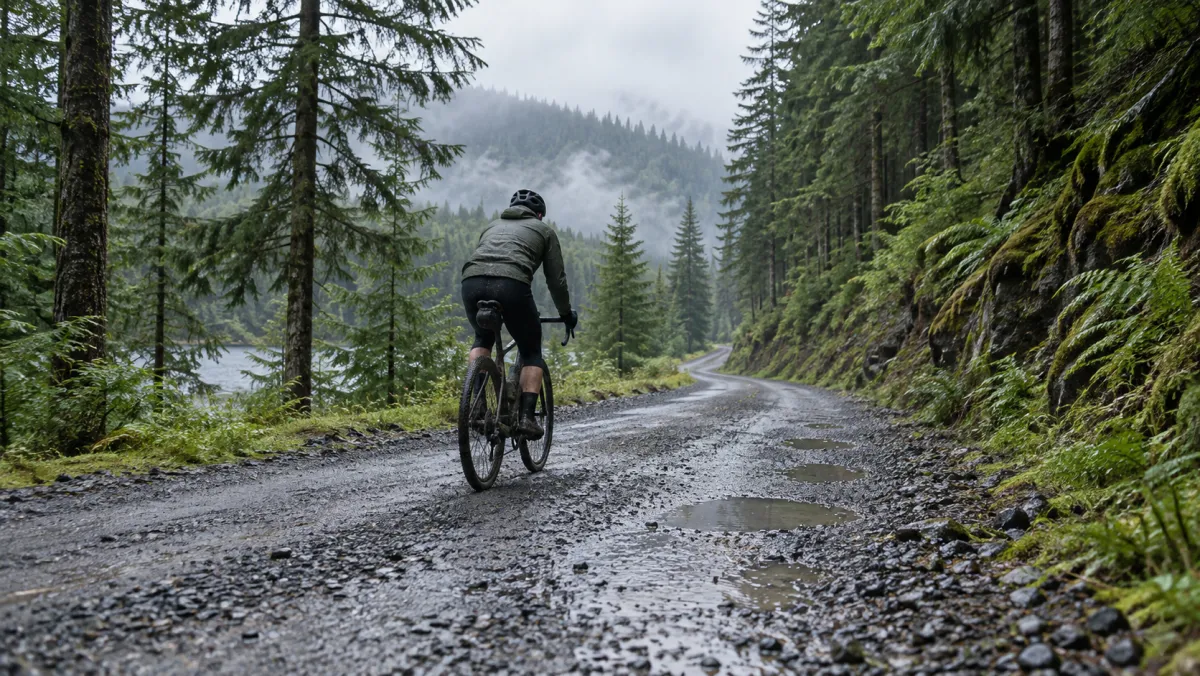
A gravel route can combine pavement, packed dirt, loose gravel, mud, sand, and water crossings. Surface labels alone cannot describe how clean, wet, or abrasive a particular ride was.
That variety makes ride notes useful alongside manufacturer service schedules. A 40-mile ride on packed fire roads is completely different from 40 miles of loose, dusty singletrack, but they'd look identical on a mileage counter.
The Silent Chain Killer: Grit Ingress
Contamination is a common gravel maintenance challenge, and also affects road and mountain bikes. Fine grit and dust work their way into your chain, cassette, and derailleur pulleys with every dusty mile. This abrasive material accelerates wear from the inside, wearing the chain’s internal contact surfaces. The rate depends on the contamination and lubrication.
Mud compounds the problem. A muddy section coats your entire drivetrain in gritty paste that acts like sandpaper under load. Creek crossings introduce water that washes away lubricant. Measure chain wear regularly; the discipline label alone does not determine which chain needs replacement first.
Plan Maintenance Around the Loaded Bike
Loaded bags increase total mass and can increase climbing and braking demand. Record your trip mileage and inspect the bike before departure; there is no reliable conversion from bikepacking days to ordinary riding months.
Check brake pads and rotors against their manufacturer’s minimum thickness, and keep the loaded bike within its weight limits. Brake heat management matters on long descents. Ask the bike or brake manufacturer about approved rotor sizes for your setup.
Check Tubeless Sealant by Time and Condition
Tubeless sealant needs inspection even when you have not ridden far. Check the product’s refresh interval, temperature limits, and remaining liquid. For example, Stan’s Original sealant guidance describes a 2–7 month period, with more frequent monitoring in arid conditions; other formulas differ.
Tracking sealant freshness requires a different approach than mileage-based components. It needs time-based reminders alongside ride data.
How Strain-Based Tracking Helps
Trail Hits® combines ride data with the conditions you select to estimate component use. GPS supplies route and elevation information; it does not directly detect dust, mud, or lubricant condition. Tire distance and service history provide additional context.
A dusty fire-road ride and a clean gravel-path ride can deserve different follow-up care. Record that difference, use reminders to prompt checks, and confirm wear through inspection.
What to Check and When
Use the component maker’s instructions and your own inspection history. These checks are more useful than a universal mileage replacement table:
Keep Track of Gravel Maintenance
Keep gravel rides and maintenance records together, with reminders to inspect components and refresh consumables.
Get Started Free